Guide
Getting started
Set up echo99 once — grant two permissions, let the on-device models download, and you're recording.
Finish setup
On first launch, echo99 shows a short checklist. Each row is one tap:
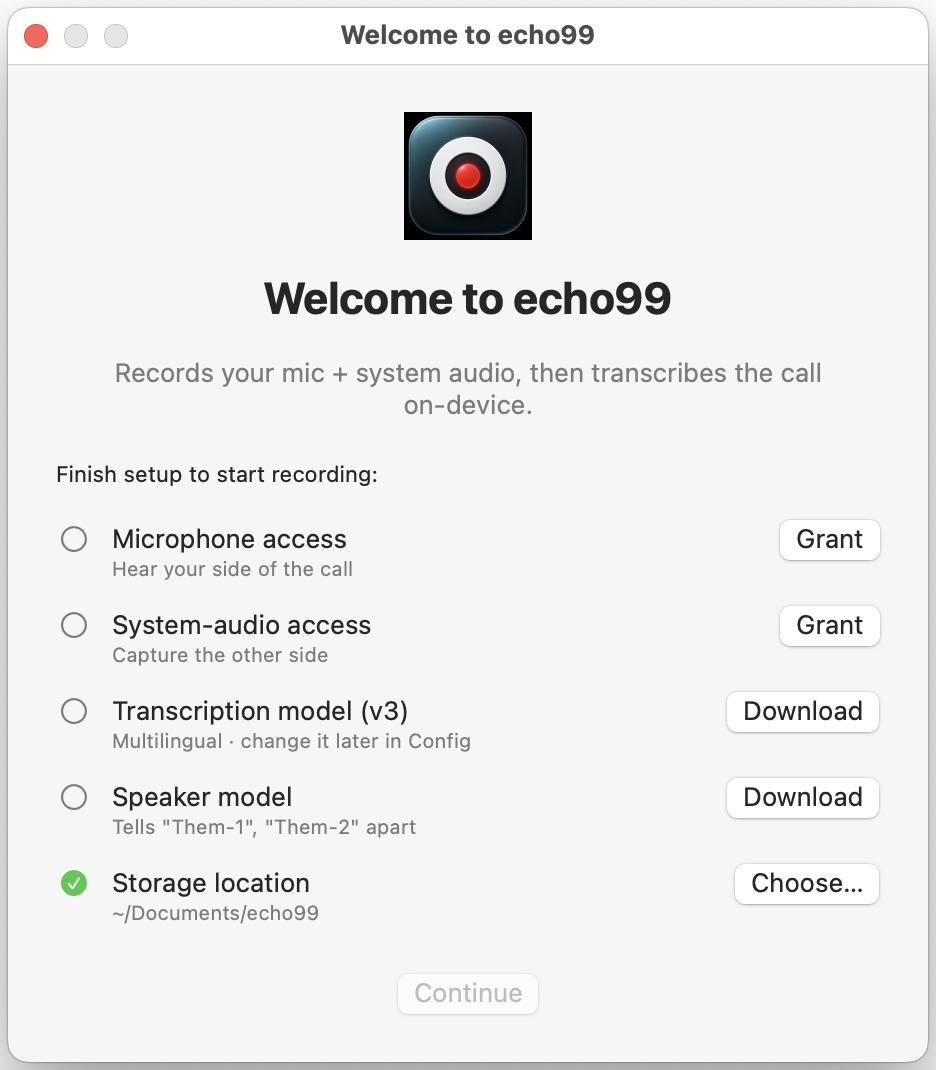
- Microphone access — so echo99 can hear your side of the call. Click Grant and approve the macOS prompt.
- System-audio access — captures the other side (what your Mac plays). Click Grant and approve.
- Transcription model (v3) — the multilingual speech-to-text model, downloaded once to your Mac. Change it later in Config.
- Speaker model — tells the other voices apart, labeling them “Them-1”, “Them-2”, and so on.
- Storage location — where recordings are saved. Default is
~/Documents/echo99; click Choose… to change it.
The two models download from the internet once. After that, recording and transcription work with Wi-Fi off.
You’re ready
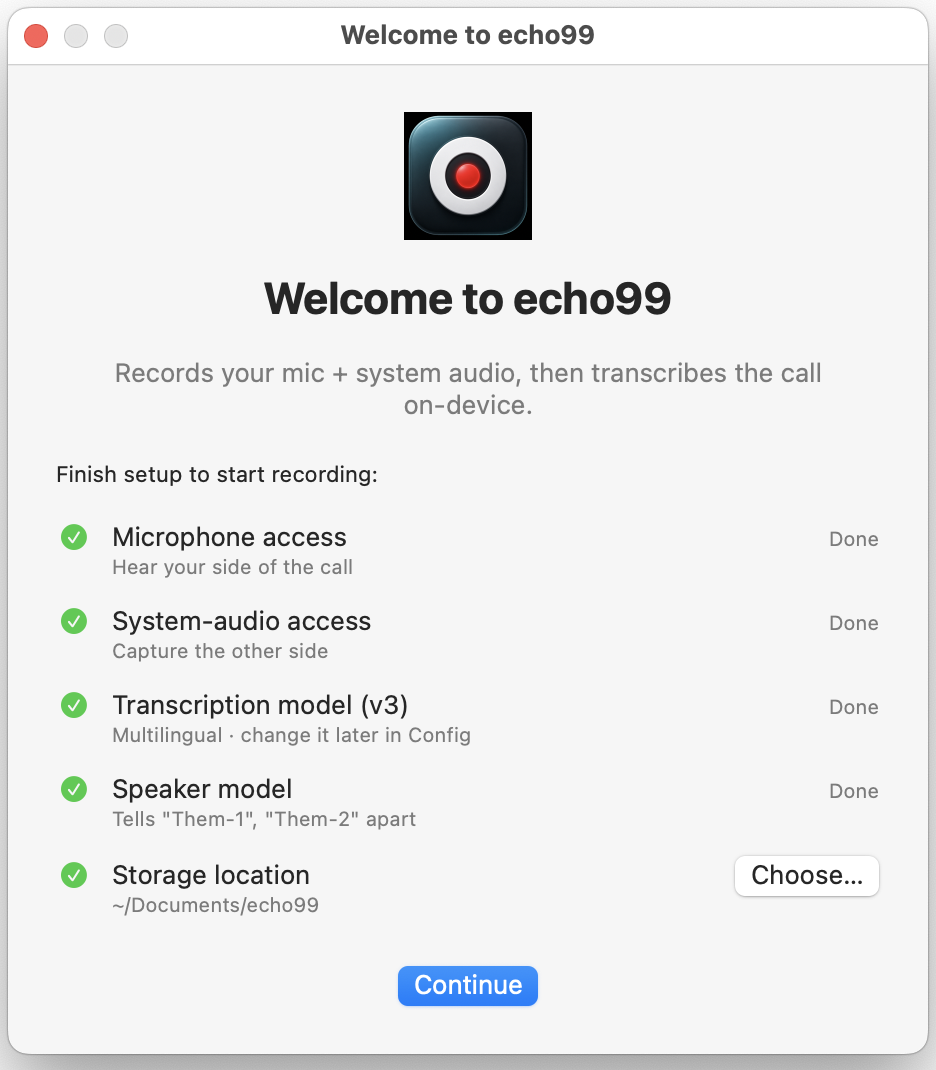
When every row is checked, click Continue. echo99 lives in your menu bar — no dock icon, no window.
Automatic recording
Open the echo99 menu and turn on Auto-record calls once. The setting stays enabled across launches. When another Mac app uses your microphone for a few seconds, echo99 starts recording automatically and stops when the microphone is no longer in use.
Record manually
- Click the echo99 icon in the menu bar → Start Recording.
- Have your call as usual. echo99 captures your mic and the system audio as separate tracks.
- Click Stop when you’re done. Transcription runs on your Mac automatically.
- Open the recording folder to read the transcript and play back either track.
Where your recordings go
Each recording is its own folder under ~/Documents/echo99/:
mic.wav— your microphone (labeled “Me”).system.wav— the other side (diarized into “Them-1”, “Them-2”).metadata.json— timestamps and device info.transcript.json/transcript.txt— the full transcript with speaker labels.
If a permission was denied
If you clicked “Don’t Allow” by mistake, echo99 can’t record until you re-enable it:
- Microphone: System Settings → Privacy & Security → Microphone → turn echo99 on.
- System audio: System Settings → Privacy & Security → find the audio-recording entry and enable echo99.
Relaunch echo99 after changing a permission.
Requirements
- macOS 14.4 or later (that’s when Apple added the system-audio capture echo99 uses).
- Apple silicon & Intel both supported; on-device transcription is fastest on Apple silicon.
Try echo99 on your next call
Free download. No account. Recording and transcription stay on your Mac.
Free · macOS 14.4+ · Notarized by Apple